DIY Perovskite crystal model - Origami, knitting and 3D printing
Most of my research happens inside a computer — simulating, visualizing, and analyzing atomic structures that exist only on a screen. But I’ve always loved handcrafts and making things in the real world. There’s something deeply satisfying about holding a model of the structure I usually see as colorful atoms on my monitor.
During my PhD, I’ve been studying perovskites — a fascinating class of materials that appear everywhere from ceramics to solar cells. On the atomic scale, perovskites are built from repeating octahedra (eight-sided units) connected at their corners, forming a beautiful three-dimensional lattice.
Over the years, I’ve explored several ways to bring this structure to life — blending science and creativity. In this post, I’ll share three hands-on ways to build your own perovskite crystal model:
- Origami — fold your crystal lattice from paper
- Knitting — create a soft, large-scale version
- 3D printing — design a durable, modular model for labs or demos
Each method highlights a different aspect of the structure — geometry, scale, or modularity — and all are fun, tactile ways to explore materials science.
1. Origami Perovskite
My first and simplest experiment was the origami perovskite. I made it in the very beginning of my perovskite journey while reading the classic paper “The Classification of Tilted Octahedra in Perovskites” by Mike Glazer — a must-read for anyone studying crystal structures.
I wanted a way to visualize how octahedral tilts affect symmetry in perovskites, so I decided to bring the structure to life with paper. All you need is some paper, thread, and a bit of time.
Difficulty: ★☆☆ (Beginner)
Materials: Paper, thread
Start by cutting paper into roughly a 3:1 rectangular shape and folding origami octahedra. You can follow this excellent step-by-step guide.


Once you’ve made a few octahedra, connect them at the corners using thread, gently tie them together to form a cubic network. I love this model because it’s flexible. You can tilt the octahedra to mimic the rotations that solid-state physicist observe in real perovskites.
I used 30x10 cm rectangular paper, which makes the final model roughly 50 million times larger than the atomic lattice!
This is also a fantastic outreach activity. During the “Science in the Swamps” event with School of Chemistry at UNSW, we invited primary school kids and their families to fold their own octahedra. It was a bit tricky for smaller hands (and even some parents), but everyone loved seeing their creations come together into something scientific. In fact, I think the parents enjoyed it even more than the kids!
Another great variation comes from this research-inspired project. Their workflow is similar but they build each octahedron from six seperate square pieces. I’ll have to try this method next time!
2. Knitted Perovskite
The next method takes perovskite modeling to a softer level — knitting!
This idea was inspired by a wonderful project called “The Perovskite Project” from the University of Surrey, where researchers and knitters collaborated to create a 2-meter-high knitted perovskite, now proudly displayed in their Department of Chemistry.
I also found two contributors who are experienced knitters and documented how they made it on their blogs: ChemKnits and Lady N Thread.
Difficulty: ★★☆ (Intermediate)
Materials: Yarn, knitting needles or crochet hooks, cardboard
For my version, I used 8-ply yarn to knit triangles (you can also crochet them). Then, I sewed eight triangles together to form an octahedron. Since the yarn shapes are too soft to hold on their own, I cut matching triangle pieces from cardboard, taped them together into an octahedron, and inserted them inside as supports.

As you can tell, this project is still ongoing. It’s time-consuming but incredibly fun. So far, I’ve made 5 octahedra and plan to make 3 more and finish assembling them just in time for my graduation ceremony next month!
3. 3D-Printed Perovskite
The final version was my attempt to upgrade the origami perovskite model. I wanted something modular, where the octahedra could be assembled and disassembled quickly and freely — a hands-on kit for exploring different connectivity in perovskites.
Thanks to my cousin Zefang, who’s pursuing a PhD in 3D printing (and also serves as my unofficial 3D-printing consultant) for helping me bring this idea to life during one of our brainstorming sessions.
Difficulty: ★★★ (Advanced)
Materials: 3D printer, small magnetic balls, superglue
Each unit is 3D-printed as an octahedron with small cavities at each corner. (The .stl files are available here: [insert link].)

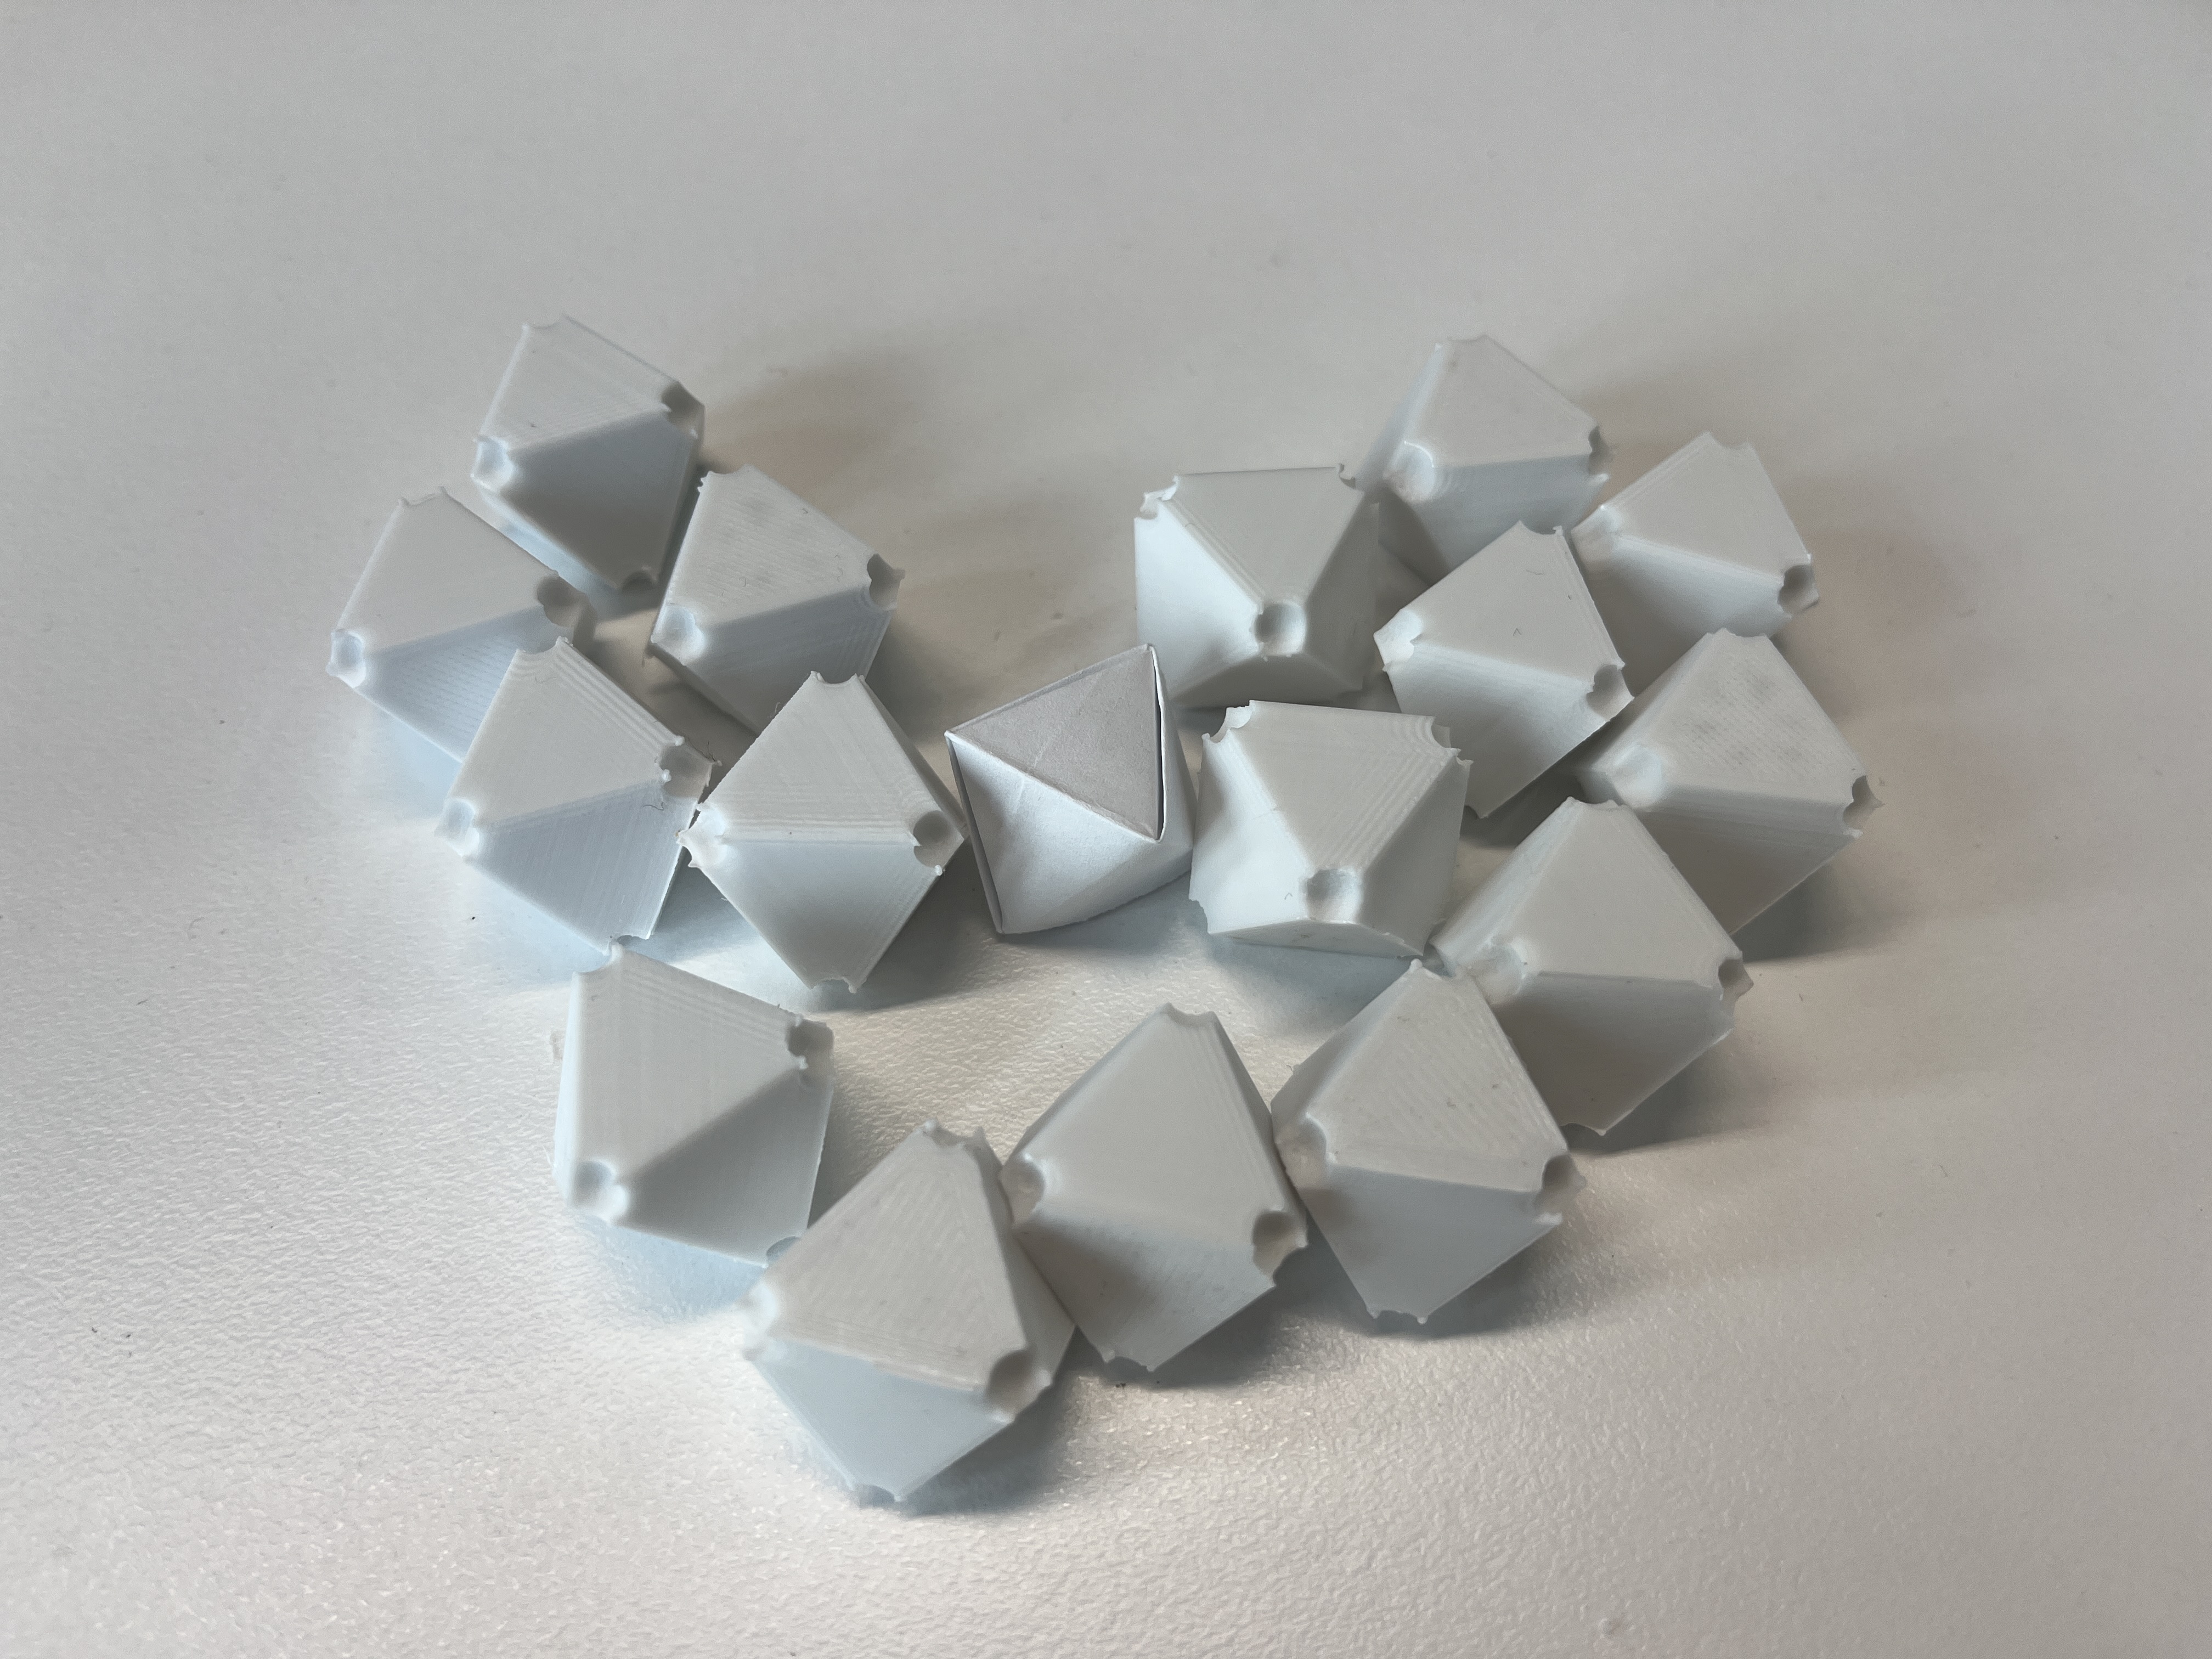
When printing, orient one face flat on the bed for better stability. After printing, insert 5 mm magnetic balls into each corner cavity (based on the original 3D-print file size). Use superglue to secure them, aligning their poles along the axes.
Be sure to alternate the poles — three corners with the north pole facing out and three with the south — so that the octahedra can connect without repelling each other.

Voilà! You now have a modular perovskite kit that can be arranged into 0D, 1D, 2D, or 3D perovskite structures. My office mates and I had great fun experimenting with different configurations during coffee breaks!
Final Thoughts
Making these perovskite models has been one of the most enjoyable parts of my PhD journey. They’re a great way to take your mind off research while still staying connected to science.
They also work wonderfully for outreach and teaching — and, honestly, they make fantastic desk decorations too!
Whether you’re an educator, a researcher, or simply curious about materials, I hope these ideas inspire you to build your own crystal model and explore the beauty of materials science in a hands-on way.
Enjoy Reading This Article?
Here are some more articles you might like to read next: